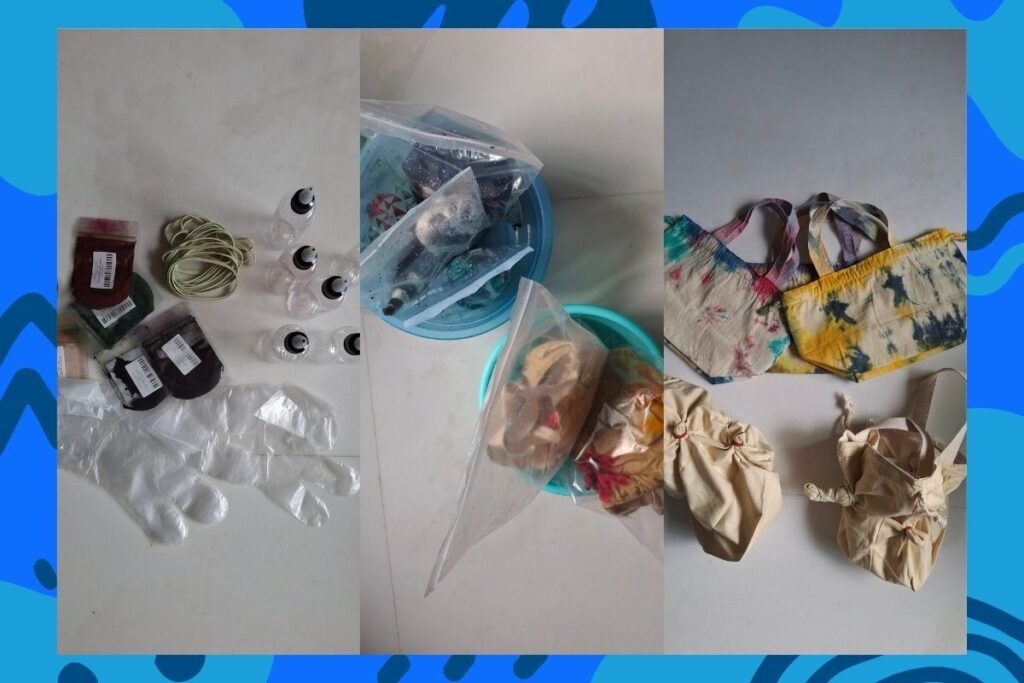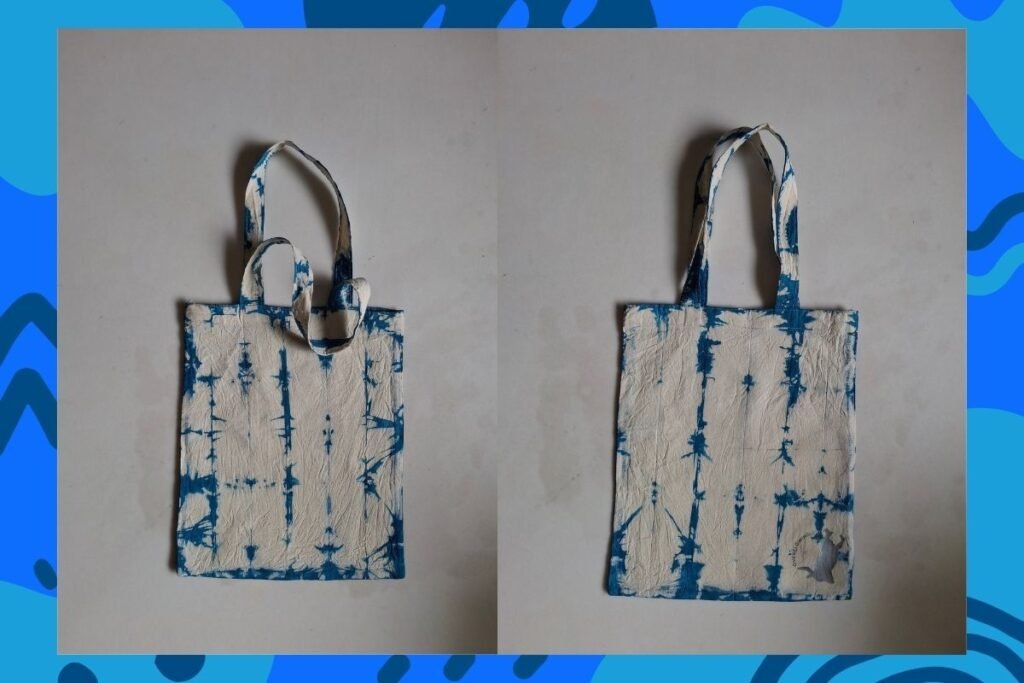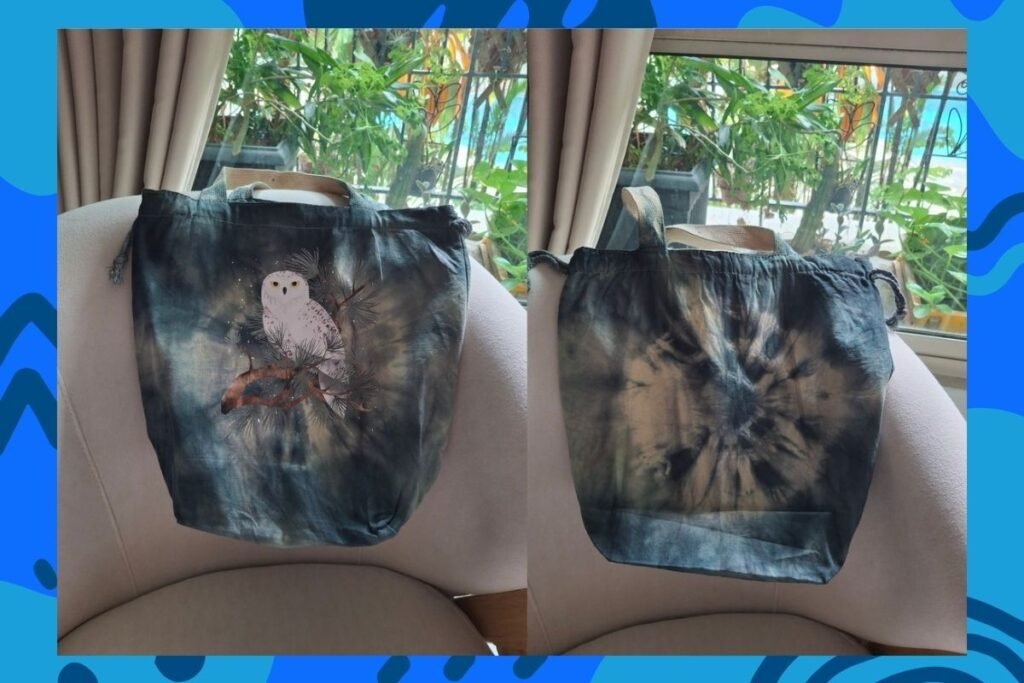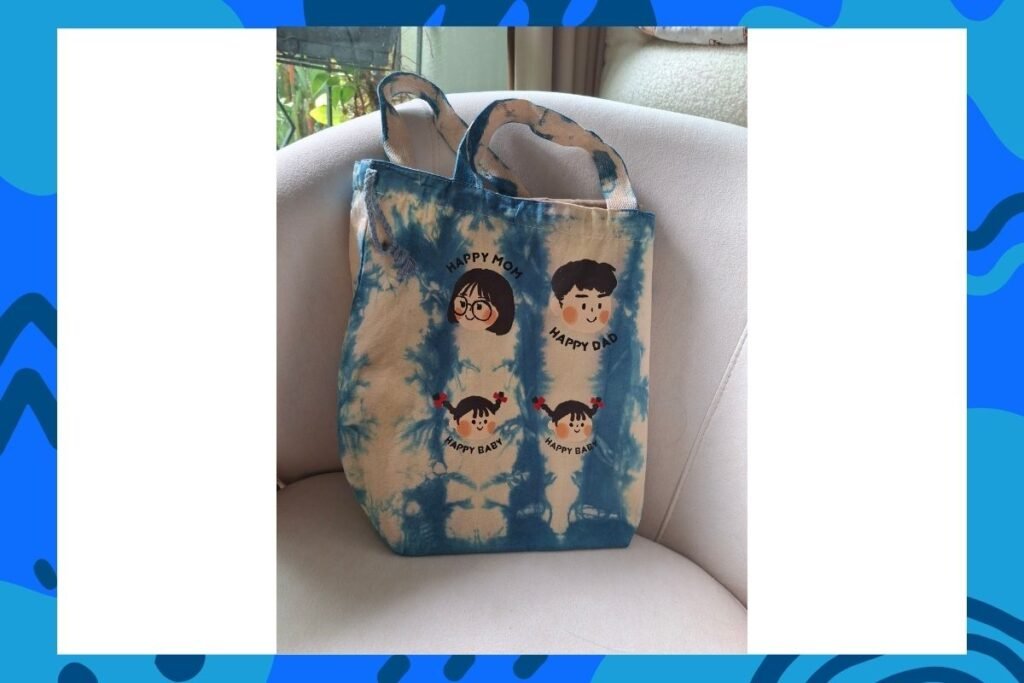
Tie-dyeing is a fun and relaxing way to transform a plain canvas bag into something colourful and personal. The beauty of tie-dye is that every bag turns out differently. There is no need to aim for perfection, the unexpected patterns are part of the charm!
Materials
Small plain cotton canvas bags
Fabric dye in 2–6 colours
Rubber bands
Plastic gloves
Small containers
Spoons or stirrers
Tap water
Plastic sheet to protect the table
Plastic bags
Apron or old clothing
Rack or drying area
Mild detergent for washing
Squeeze bottles for applying dye
Before You Begin
Wash the canvas bags first to remove any manufacturing residue. Do not use fabric softener.
Use them slightly damp to allow the dye to flow through easily.
Cover the working table with plastic sheet.
Put on gloves and an apron.
Prepare the fabric dye according to the manufacturer’s instructions.
Simple Tie-Dye Techniques
1. Scrunch Method – Easy and Relaxed
This is one of the easiest techniques for beginners.
Lay the canvas bag flat.
Scrunch the fabric loosely into a small bundle.
Wrap several rubber bands around the bundle to hold it together.
Apply different colours of dye to different sections of the bundle.
Turn the bundle over and apply more dye so that the colour reaches both sides.
Do not completely saturate the fabric if you want some lighter areas to remain.
Place the dyed bag inside a plastic bag.
Leave it for 6 to 8 hours for the dye to set.
The result is an organic, cloud-like pattern with plenty of surprises.
2. Spiral Pattern
For a more recognisable tie-dye design:
Lay the bag flat.
Pinch the fabric near the centre of the bag.
Slowly twist it in one direction, allowing the rest of the fabric to form a spiral.
Continue twisting until the whole bag forms a round bundle.
Secure it firmly with rubber bands, dividing the bundle into sections.
Apply different colours to the sections.
Turn the bundle over and repeat.
Place it in a plastic bag.
Leave it for 6 to 8 hours for the dye to set.
A two- or three-colour combination usually works particularly well on a small bag.
Rinsing and Washing
Once the dye has set:
Carefully remove the rubber bands while wearing gloves.
Rinse the bag under cool or lukewarm running water.
Continue rinsing until most of the excess dye has been removed and the water becomes much clearer.
Wash the bag separately with mild detergent according to the dye instructions.
Hang it up to dry naturally.
Once completely dry, iron it if necessary.
Tip: Wash the finished bag separately the first few times, as some loose dye may continue to come out.
Colour Suggestions
For a harmonious result, choose two or three colours that blend well together.
Blue + turquoise + purple
Yellow + orange + red
Pink + purple + blue
Green + blue + yellow
Orange + pink + yellow
Avoid using too many colours at once, as the resulting mixture can become muddy.
Tie-dye is not about producing identical or perfect results. Each pattern is unique, just like each person. Encourage participants to enjoy the process of folding, twisting, choosing colours, and discovering the pattern when the rubber bands are removed.
The activity can become a wonderful opportunity to slow down, enjoy conversation, laugh together, and appreciate the simple joy of creating something with our hands.