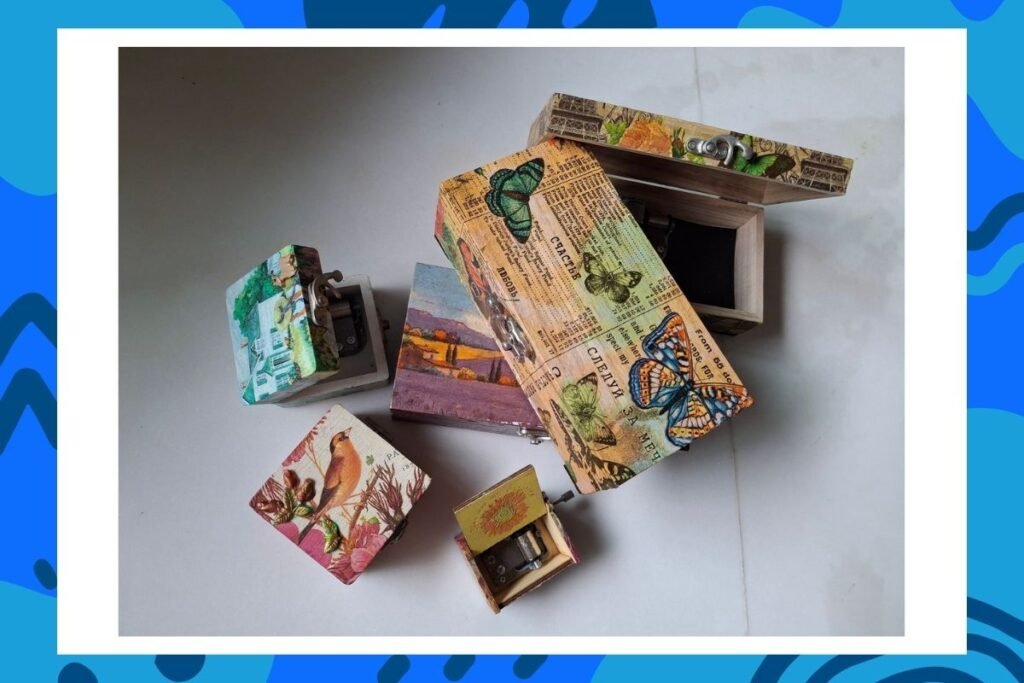
Decoupage Craft on Small Music Boxes
Decoupage is a delightful craft that transforms ordinary objects into beautiful decorative pieces. By carefully layering decorative paper, napkins, or printed images onto a surface, a simple wooden music box can become a unique work of art. The process is relaxing, enjoyable, and suitable for both beginners and experienced crafters.
Creating a decoupage music box allows you to personalize a treasured keepsake with your favourite designs, such as flowers, birds, landscapes, vintage patterns, or inspirational themes. The gentle cutting, arranging, and gluing process encourages mindfulness and creativity while producing a beautiful handmade gift or decorative item.
You can use any other substrate of your choice.
Materials
- Small wooden music box
- Decorative paper, tissue paper, rice paper, or printed napkins
- Decoupage glue or Mod Podge
- Soft paintbrushes
- Scissors
- Acrylic paint (optional for base coating and painting part of design)
- Fine sandpaper
- Clear acrylic sealer or varnish
- Soft cloth
- Pencil (optional for tracing designs)
Steps
1. Prepare the Music Box
- Ensure the music box surface is clean and dry.
- Lightly sand any rough areas for a smooth finish.
- Wipe away dust with a soft cloth.
2. Paint the Base (Optional)
- Apply a coat of acrylic paint if you would like a coloured background.
- Allow the paint to dry completely before proceeding.
3. Select and Cut Designs
- Choose decorative images (napkin with beautiful images) that fit the size of the music box.
- Carefully cut out the desired motifs using scissors, or use complete napkin.
4. Arrange the Design
- Place the cut-outs or full napkin overt the music box without glue first.
- Experiment with different layouts until you are happy with the arrangement.
5. Apply the Decoupage Glue
- Brush a thin layer of decoupage glue onto the surface.
- Gently place the paper design onto the glued area.
- Smooth out wrinkles and air bubbles with your fingers or a soft brush.
6. Seal the Design
- Once the paper is dry, apply a thin coat of decoupage glue over the top.
- Allow it to dry completely.
- Repeat with 2–3 additional thin coats for durability. (optional)
7. Add Finishing Touches
- You may paint borders, add small embellishments, or highlight details with acrylic paint if desired.
8. Apply a Protective Finish
- When everything is fully dry, apply a clear varnish or acrylic sealer.
- This protects the artwork and gives the music box a polished appearance.
Benefits of Decoupage Music Box Craft
- Encourages creativity and self-expression.
- Improves concentration and fine motor skills.
- Promotes relaxation and mindfulness.
- Creates a meaningful handmade keepsake or gift.
- Gives new life to ordinary objects through art.
Each completed music box becomes a unique piece that combines visual beauty with the gentle melody of music, making it a special treasure to enjoy or share with others