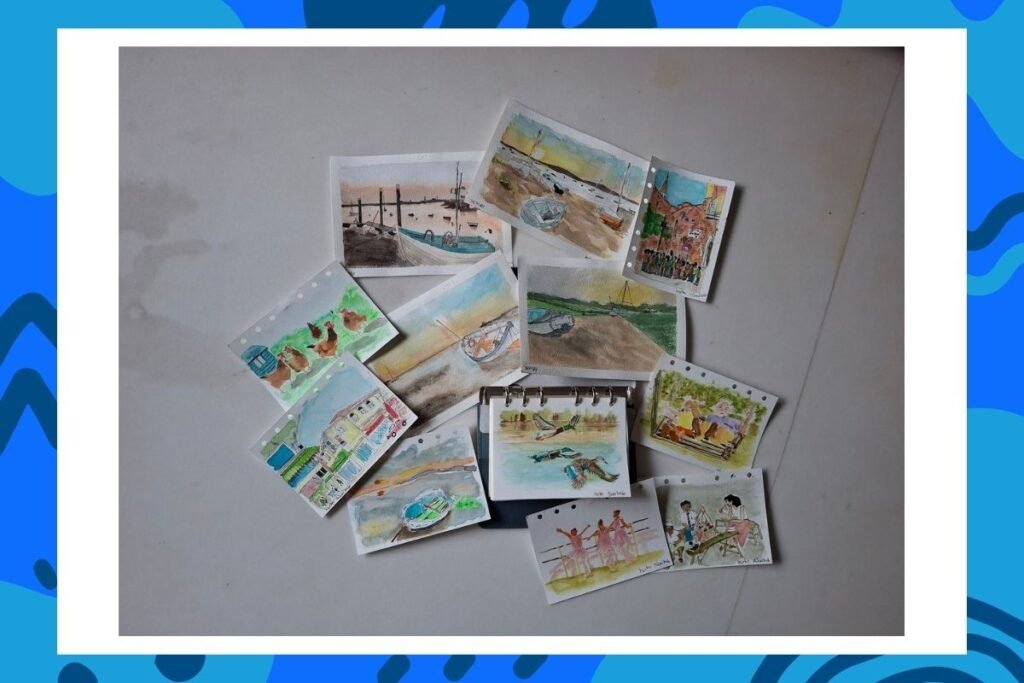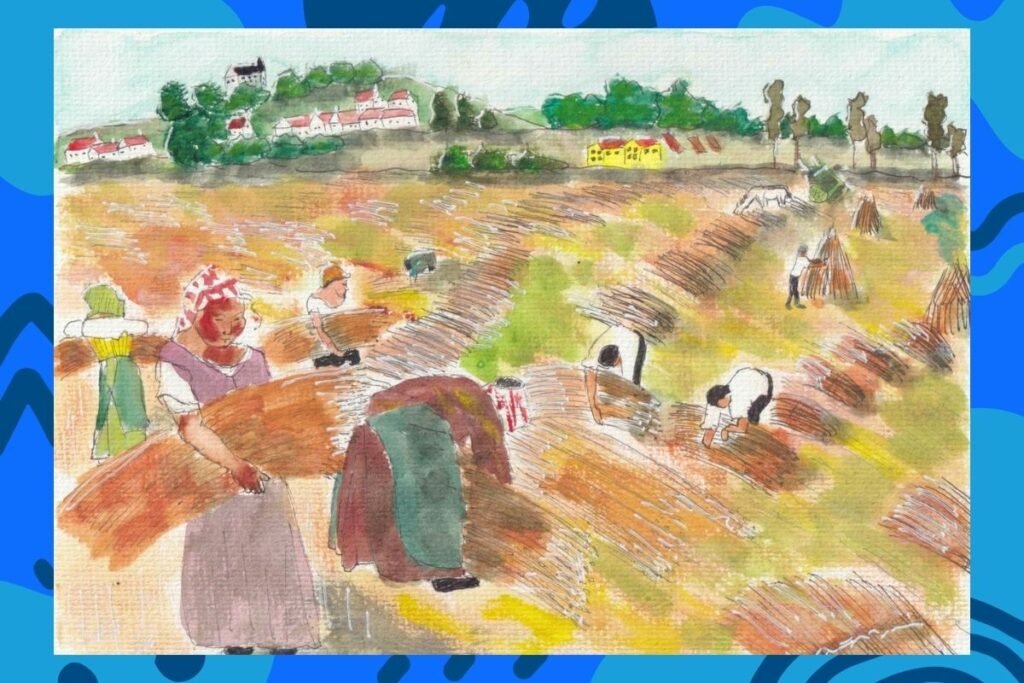
Mini ink-and-wash watercolour doodling is a delightful and relaxing creative activity that combines simple pen drawings with soft touches of watercolour. Unlike detailed paintings that may require careful planning and precision, doodling encourages freedom, spontaneity, and playfulness. A few simple lines can become charming houses, flowers, animals, landscapes, or imaginative scenes, making the process enjoyable for both beginners and experienced artists.
One of the greatest joys of doodling is that there are no strict rules. The focus is on the process rather than the outcome. As the pen moves across the paper and colours gently blend together, the mind becomes absorbed in the present moment. This allows us to set aside daily worries and simply enjoy creating. Many people find themselves smiling as unexpected ideas emerge and simple sketches come to life with colour.
Mini ink-and-wash doodling is also a therapeutic and mindful activity. The repetitive motion of drawing lines, shapes, and patterns helps calm the mind and reduce stress. Adding watercolour washes encourages a slower pace, inviting us to pause, observe, and appreciate the beauty of colour and texture. This gentle creative process can promote relaxation, improve concentration, and provide a sense of accomplishment.
Because the artworks are small and manageable, there is less pressure to achieve perfection. Each doodle becomes a personal expression of creativity, capturing a moment of inspiration, gratitude, or imagination. Whether enjoyed alone or shared with friends, mini ink-and-wash watercolour doodling offers a refreshing way to nurture creativity, cultivate mindfulness, and experience the simple pleasure of making art.
Materials Needed
- Watercolour paper (300gsm recommended)
- Waterproof ink pen or fine liner or fountain pen
- Pencil and eraser for sketching
- Watercolour paints
- Paint brushes (round brushes in 1 -3 different sizes)
- Water container
- Tissue paper or paper towel
- Palette for mixing colours
- Masking tape (for creating the narrow border)
- White gel pen (optional)
Steps for Creating Ink and Watercolour Wash Artwork
Step 1: Choose Your Subject and Plan the Composition
Decide what you want to paint.
Examples:
- Street scenes
- Flowers and gardens
- Buildings
- People
- Animals
- Bible stories
- Everyday moments
Before drawing:
- Decide the main focus.
- Consider where light and shadows will fall.
- Leave some (a lot) empty space for a peaceful feeling.
Step 2: Make a Light Pencil Sketch
Using a pencil:
- Draw simple outlines of the main objects.
- Keep the lines light so they can be erased later.
- Focus on shapes and proportions rather than details.
Example:
For a street scene:
- First draw buildings.
- Then add trees, people, and smaller details.
Step 3: Add Ink Lines
Once the pencil sketch is ready:
- Loosely trace or reshape important outlines with ink.
- Preferably lines should be broken rather than joined.
- Use different line thicknesses:
- Thick lines → main objects and foreground
- Thin lines → small details and background
Ink techniques:
- Straight lines → buildings, fences, roads
- Curved lines → plants, clouds, people
- Short strokes → texture and shadows
Do not outline every single detail. Leave some areas soft.
Step 4: Allow Ink to Dry
This step is important.
- Wait until the ink is completely dry.
- This prevents the ink from bleeding when watercolour is applied.
(If you want a softer effect, you can intentionally use non-waterproof ink for gentle bleeding.)
- Use eraser to remove pencil lines.
Step 5: Apply the Lightest Watercolour Wash
Start with the lightest colours.
Examples:
- Sky
- Background areas
- Large surfaces
Technique:
- Wet your brush.
- Pick up a small amount of paint.
- Apply a thin, transparent layer.
- Let the white of the paper shine through.
Remember:
Watercolour builds from light to dark.
Step 6: Build Up Layers of Colour
Add more colour gradually.
For depth:
- Background → lighter and softer
- Middle area → medium colour
- Foreground → darker and stronger
Example:
A garden scene:
- Light blue sky
- Soft green background
- Darker leaves and flowers in front
Allow each layer to dry before adding another.
Step 7: Add Shadows and Depth
Shadows give the painting life.
Use:
- A darker version of the same colour
- Mixed complementary colours
- Gentle grey or purple tones
Add shadows under:
- Buildings
- Trees
- Objects
- People
Step 8: Add Final Ink Details
After the watercolour dries:
Add final touches:
- Window details
- Leaf veins
- Facial features
- Texture lines
- Small patterns
These details bring the painting together.
Step 9: Add Highlights
Create areas of light using:
- White space from the paper
- White gel pen
- White watercolour
- Light pastel touches
Examples:
- Sunlight
- Reflections on water
- Sparkling stars
- Flower highlights
Step 10: Finish and Display
Mount or frame your artwork.
Let the painting dry completely.